Set up and pair a Snom M55 handset to a Snom M500 Base Station
This article shows how to set up and pair the M55 handsets to a Snom M500 Base Station
Table of Contents
PrerequisitesPrerequisites
- Access to Manager Portal
-
Access to the Base Station Web UI
Setting up a Snom M500 Base Station on your Hosted PBX
This article shows how to set up and pair the M55 handsets with a Snom M500 Base Station, a multi-user device that supports up to 10 handsets.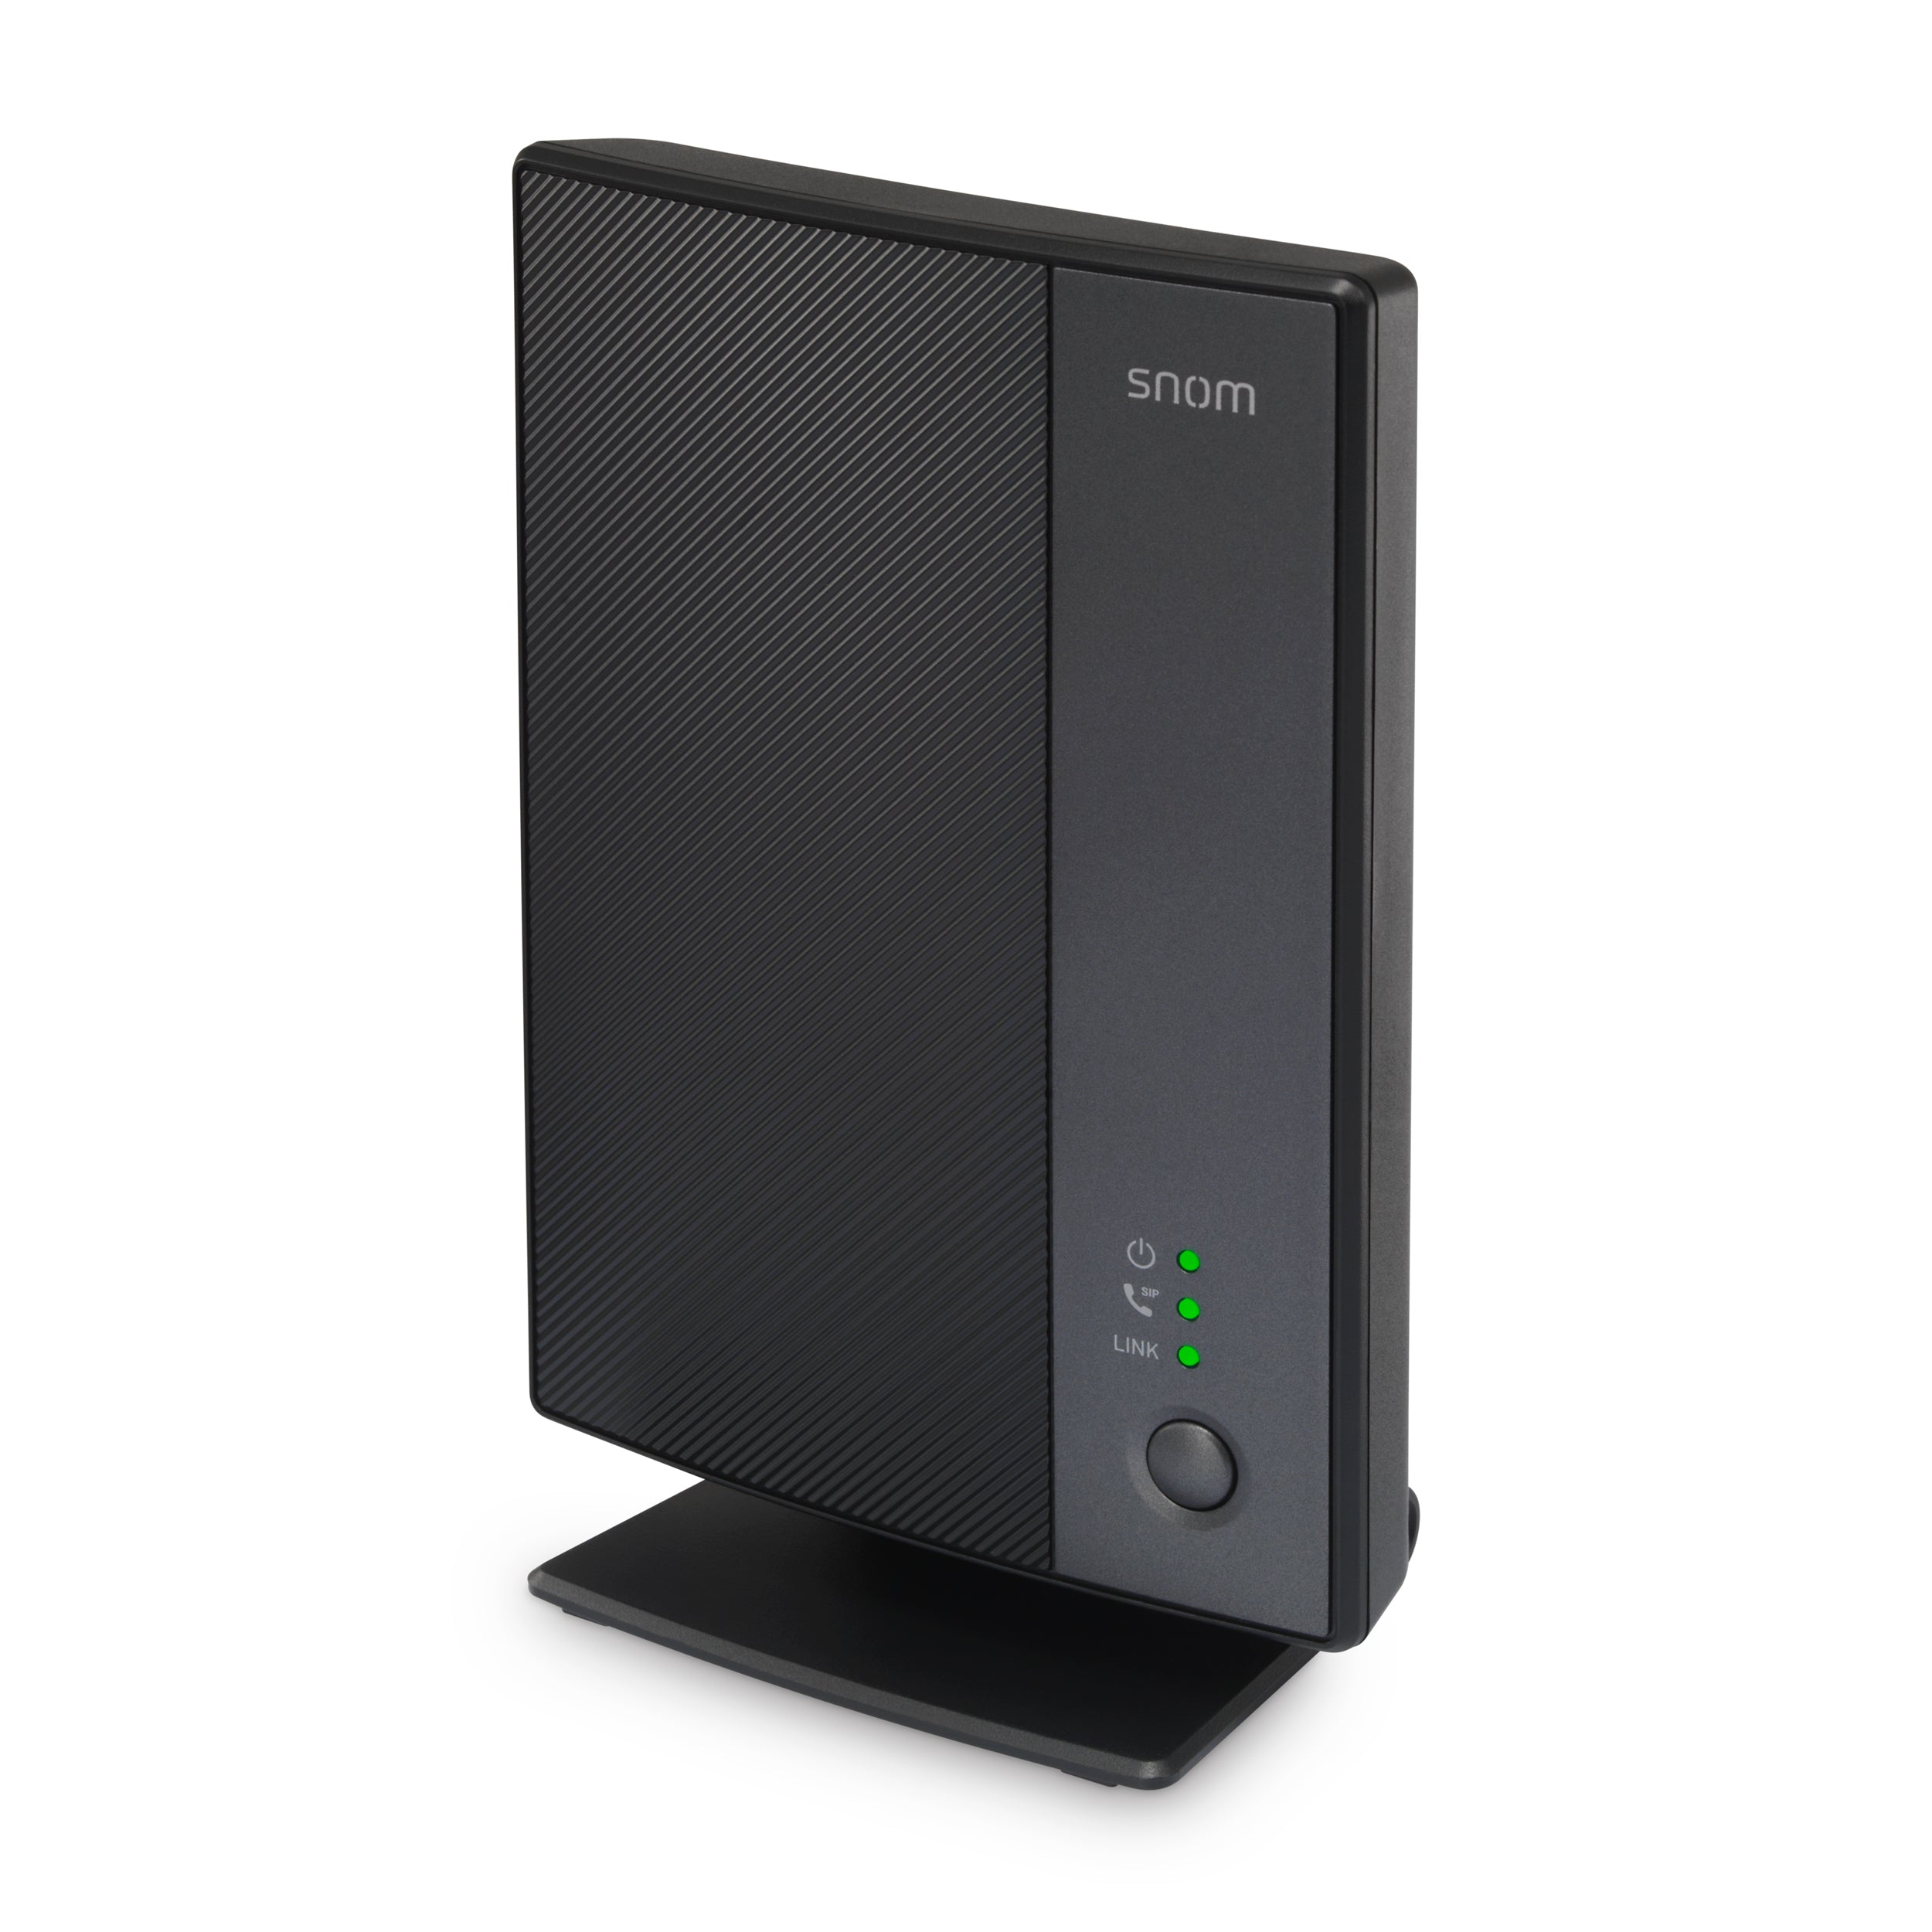
Adding the Snom M500 Base Station
Before setting up your Snom M500 Base Station to work with your Hosted PBX, you must first add the device to the Manager Portal.
Sign in to the Manager Portal:
- Click the Inventory tab.
- In the navigation bar, click Phone Hardware.
- You'll see a list of your existing devices.
- Click "Add Phone",

- Fill in the MAC Address field and Domain, and put notes if needed.
The MAC address is on the back of the device. (Shown below)

Pairing a handset to the base station
Once you set up the base station and assign ports, you can register your M55 handsets with it.
Note: Only Snom M55 models are supported.
does not support dual-cell or multi-cell configurations of the Snom M500.
Pairing handsets using the Start button
- Make sure the base station is turned on and connected to the network.
-
The handset should display a "Device not registered to base station" message.
Press Reg - If the handset shows a Registering… message, press Cancel and then press OK - Press the up or down arrows to choose Manual start on WUI and press Sel
- Press Next and keep the handset near the base station.
- Using the base station's IP address, open its WebUI in a web browser.
- On the WebUI, click Status and then click Cordless Registrations
- Under Manual registration, click Start. The WebUI will display a "Success: Registration started" message.
- Press the # key on the handset to begin registration. The handset will show Registering... Please Wait
If registration is successful, the handset will beep, display "Handset registered," then display the idle screen.
If registration fails, the handset will beep and display Registration failed
A. Press OK
B. Ensure the handset is near the base station.
C. Repeat step 3.
Pairing handsets using the LINK key
- Make sure the base station is turned on and connected to the network.
- The handset should display a "Device not registered to base station" message.
-
Press Reg.
- If the handset shows a Registering… message, press Cancel, then press OK.
- Highlight the LINK key on the Base and press Sel.
- Press and hold the LINK key on the base station for four seconds.
- Press and hold the # key on the handset. The handset will show Registering... Please Wait.
A. Press OK
B. Ensure the handset is near the base station.
C. Repeat step 3.
If registration is successful, the handset will beep, display "Handset registered," then display the idle screen.
If registration fails, the handset will beep and display Registration failed.