Setup Shared Line Appearances
Prerequisites:
- Office Manager or Higher Scope
- Available lettered extensions to be used
Setup Notes
- Each device must have its extension (usually will be a lettered extension)
- Will not work in a Call Queue currently
- Some phones may require additional overrides depending on how many Shared Lines are required.
Portal Setup
- Log in to the Manager Portal
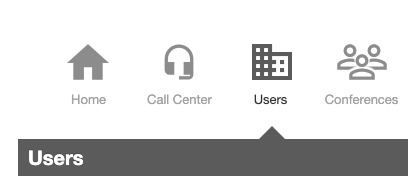
- Navigate to Users and select your desired user.
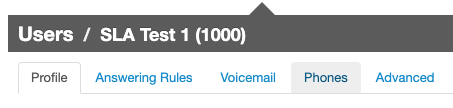
- Once in your desired user profile, select the phones option.
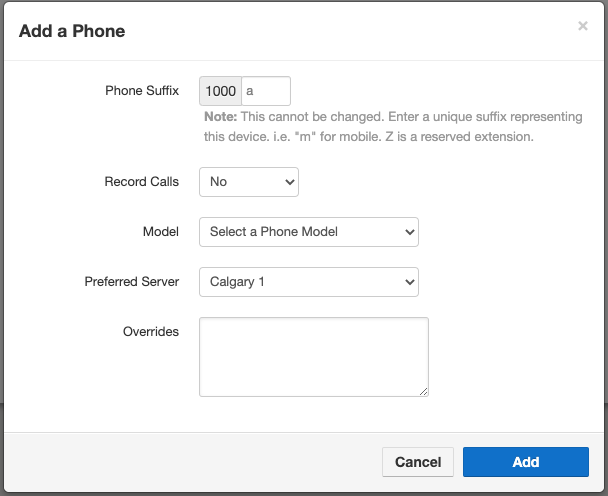
- Click "add phone" to create your lettered extensions.
By default, this is restricted to 5 users. If you require more, please submit a ticket to support the use case requiring more.
- Enter your desired postfix and leave all other options at their defaults.
- Repeat step 5 for your desired number of devices using the Shared Line.
Answer Rule Setup
- Navigate to the first user you wish to be on line 1 (for example, extension 1000).
- Select the User and then navigate to the Answer Rule tab.
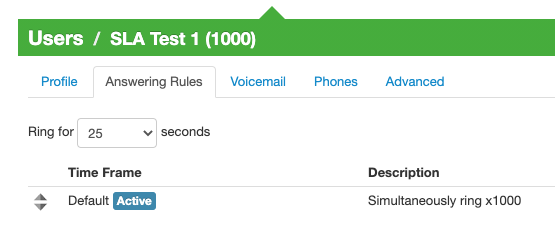
- Edit the answer rule (there may be more than 1 answer rule here depending on the call flow that is set up).
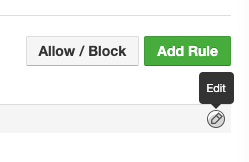
- A popup will appear. Enable the Forward On Active rule.

- In the box that says "Extension, number or phone," enter the user that will be line 2 (for example user 1001, and select the user 1001 option from the drop-down list)
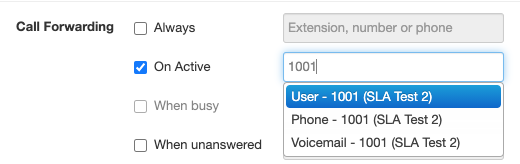
- Repeat steps 2 through 5 for all remaining desired Shared Lines
Once the final line has been reached, you can set the "Forward On Active" rule to route to a voicemail, auto attendant. If no option is set on the final Shared line, the call will receive a busy signal and then end the call.
Phone Setup
Each phone must have it's own unique extension assigned to it for this feature to work correctly. An example would be if you have 3 Share Line Appearances, you would need 1000, 1001, 1002 on phone 1 followed by 1000a, 1001a, 1002a on phone 2 and 1000b, 1001b, 1002b on phone 3.
- Navigate to Inventory -> Phone Hardware

- Edit the button builder profile for the first phone. You can do this by clicking on the phone's MAC address or the dedicated button builder button on the right-hand side.
Dedicated Button
MAC Address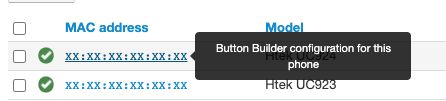
- Once in the button builder settings, edit the desired button locations.
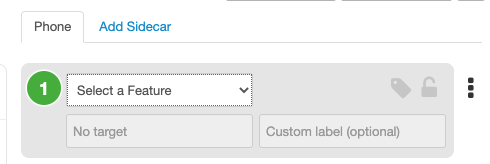
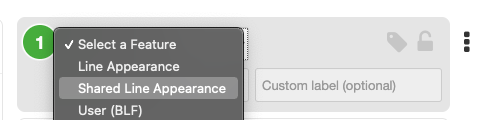
- Select the option “Shared Line Appearance”
- Enter the Shared Line users extension for this device (Example 1000).
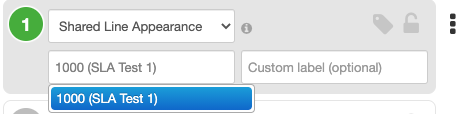
Optional* - enter in a custom label for this line - Repeat steps 3 - 5 for the remaining desired Shared Lines
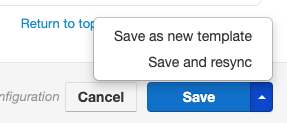
- Once finished with this profile, press the Save and Resync button.
- Repeat steps 2 - 7 for the remaining devices. The additional phones should use the appropriate lettered extensions for their shared lines.